Configuring PTCL modem in bridge mode

Asalam o alikum brothers/sisters today we will learn how to configure your home PTCL broadband router as a bridge.
We configure a device as a bridge when we want to extend our network. we will do the same in this case. We will connect our PTCL router with another router.
DHCP will be provided by upstream Router and we will turn off DHCP in our PTCL.
Here arises a question why would you do that??
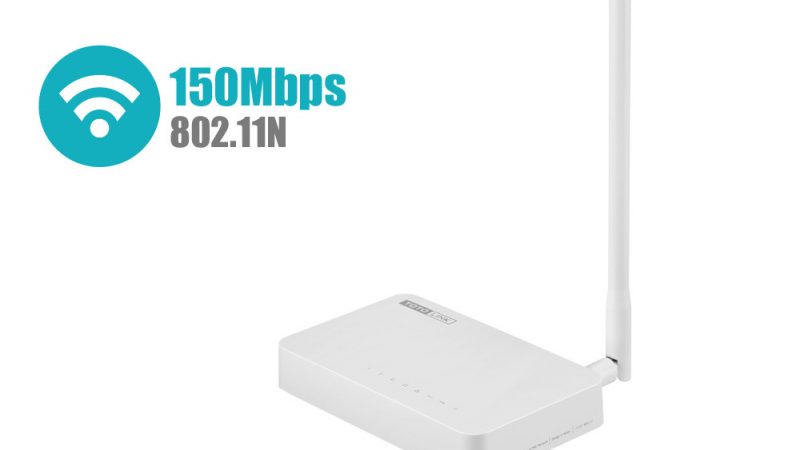
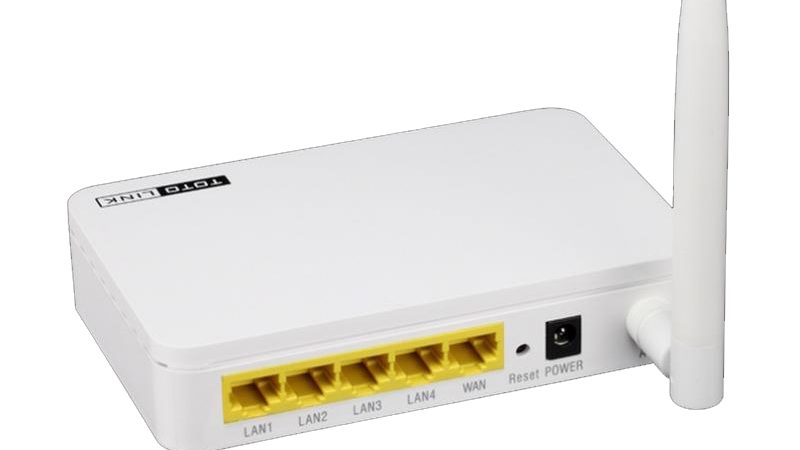
First of all Please note that PTCL Modem has WAN port as well as LAN ports. But for WAN connectivity you need to connect your telephone wire and configure PPPoE settings in it. Which is not our case , Infact we have to connect PTCL Router with another upstream Router using Ethernet cable, so we will configure it as a bridge and connect ethernet cable in it’s LAN port. when we configure it as a bridge, it would not have capability of NAT , so we will turn dhcp off so that our second Router assigns IP’s to connected customers.
There may be other reasons as well . say you want to extend your existing network.
Let me try to explain it to you with an example. For example you are using Internet connection of ISP 1 and it has installed a TP-LINK Router at your home. let’s assume that you have a room on 1st floor where wireless signals of your TP-LINK Router are too weak for internet connectivity.
You remember that you’ve a PTCL broadband Router.
Now it’s time to utilize your PTCL Router here. we will configure it as a bridge to provide internet connectivity on 1st floor. It would be connected with NAYATEL Router at G.Floor. Users would connect to PTCL Router and surf the internet.!
It’s time to configure our PTCL Router!!!. please refer to diagram below for our scenario.

Here we have a TP-LINK connected to ISP , it has IP : 192.168.0.1/24 on it’s LAN Port. we will connect our PTCL Modem with TP-LINK Router using an Ethernet cable. You can also see that the IP which we will assign to PTCL Modem is 192.168.0.2, so that we can also access our PTCL Modem incase we need to. As we are on the same subnet as our TP-LINK Router.
By default PTCL Modem has DHCP enabled on it. Network is 192.168.10.0/24
connect your PC/Laptop with Modem using ethernet cable and plug it in LAN port of Modem. Configure your ethernet adapter so that it will take IP through DHCP. you will notice that you PC will be assigned IP from 192.168.10.0/24 network.

Now open browser and type IP 192.168.10.1 to access your PTCL Modem.

***Default username and password for admin access is at the back side of your Modem.***
To change LAN IP Address. go to “Advanced setup “–> “LAN”

Next step is to disable DHCP Server in Modem. Scroll down the same page. You will see option “Disable DHCP Server” select it. Then save the changes


After you Apply/save the changes. you will see a message saying that your Modem’s IP has been changed. Now you can verify IP assigned to your PC (As we turned off DHCP on modem, now TP-LINK will assign IP Adress to PC). Also ping 8.8.8.8 to test connectivity to Internet.


For video tutorial please click this link:


Awesome post! Keep up the great work! 🙂