Block malicious websites in pfsense with pfblockerNG
Asalam o alikum, in this tutorial we will learn How to Block malicious websites in pfsense with pfblockerNG
Before beginning i assume that you have configured pfsense. if not please read these articles:
how to download and install pfsense on vmware (2022) – IT Funkaar
pfsense installation and configuration in vmware – IT Funkaar
In previous tutorials we downloaded, installed and configured pfsense on
vmware.
Today we will see how we can block malicious websites in pfsense
There are a number of ways to block websites in pfsense. In this tutorial we will use a package/ utility in pfsense known as “pfblockerNG“.
PfblockerNG is an open source utility in pfsense which allows us to block malicious websites.
There are variety of features available such as DNSBL blocking, Country blocking , IP/DNS Blacklisting etc
In this tutorial we will use DNSBL to block websites. For this we will specify Steven blacks predefined hosts file which has list of all malicious websites.
Let’s get started!
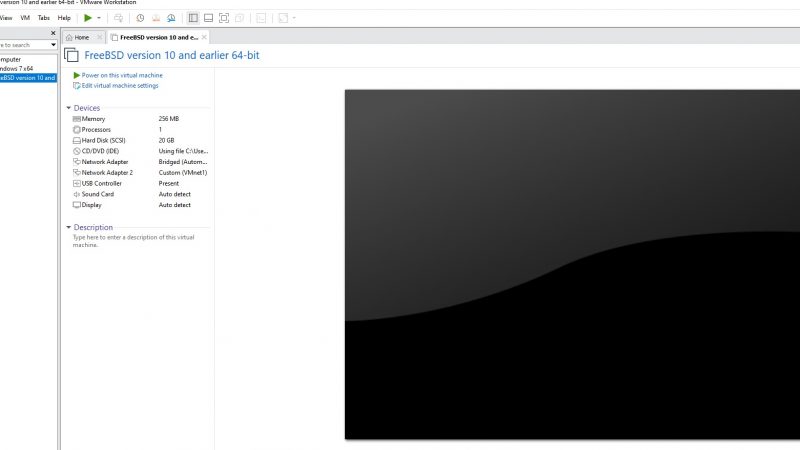
STEP 1: Power ON pfsense & windows 7 virtual machine
As we have setup our lab in vmware , so first step is to power up virtual machines.


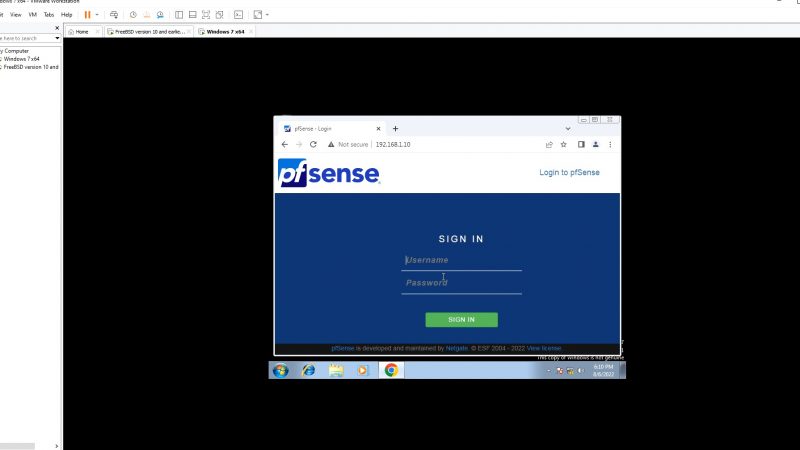
STEP 2: Open PFSENSE GUI
Once both machines are up, open browser in windows 7 machine & type IP Address of Pfsense .

After login screen is displayed enter login credentials.
STEP 3: Install pfblockerNG
Now it’s time to install pfblockerNG!
Follow the steps below :
- Go to System -> Package Manager
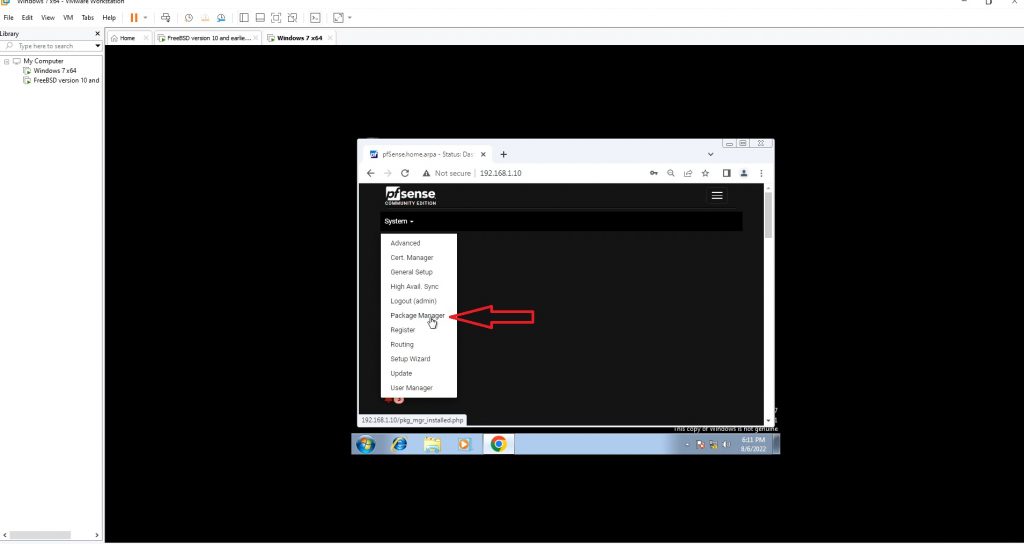
- In “available packages” search for “pfblockerNG“

- Click on “Install” button and then “Confirm“
- setup will begin to install and once installed will display completion message

STEP 4: Configure pfblockerNG
After successful installation og pfblocker next step is to configure it.
Follow the steps mentioned below:
- Navigate to Firewall->pfblockerNG

Now a configuration wizard will be displayed such as the one shown below

- Click Next on the next 2 screens.
- In IP component configuration screen :
- Select Inbound Firewall Interface = WAN
- Select Outbound Firewall Interface = LAN
- Click Next
- Next DNSBL component Configuration will be displayed, leave the default settings and simply click Next
- You will be directed to last screen of this wizard, finally click “Finish“
STEP 5: Configure DNSBL in pfblockerNG
Once pfblocker is configured we will enable DNSBL filtering
Click on “DNSBL” tab and then “DNSBL Groups”

delete default groups if any exists
- Click on Add button to create new Group
- In info window, enter name and description of group
- Next In DNSBL Source definitions , Select State from OFF TO ON
- In source specify the address of Steven Black Hosts file list.
- Click on the link below to check all available host files
- GitHub – StevenBlack/hosts: 🔒 Consolidating and extending hosts files from several well-curated sources. Optionally pick extensions for porn, social media, and other categories.
- Once you click the link, scroll down the site to see a bunch of avalbale hosts file like Unified hosts + fakenews, Unified hosts + porn etc.
- Click on “Link” under Raw Hosts column next to name of any category
- Copy the URL of the file and paste it in “Source” field of DNSBL Source definitions
- In settings windows :
> Change Action to Unbound
> Optionally you can set “Update frequency“.
It is the time period after which your file will be updated
- Finally click Save DNSBL Settings
STEP 6: Download Hosts file in pfsense Database
We have finished configuring DNSBL settgins and also specified Steven Blacks Hosts file containing addresses of all malicious sites we want to block
But wait! still the list have not been downlaoded into databse of pfsense
You just need to do a small thing .
Click on “UPDATE” Tab and then check “Update” radio button & click “RUN“
You will see how pfsense will start to download the hosts file
STEP 7: TEST !
lAST BUT NOT THE LEAST !!!
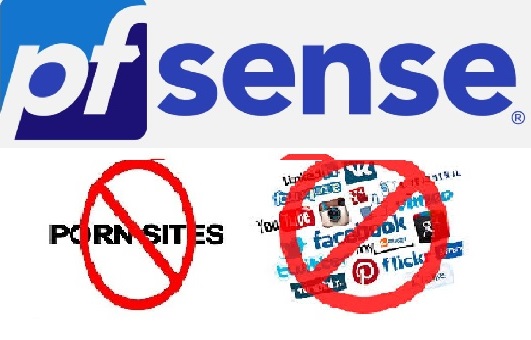
Open a web browser and type in any social / porn webiste to check if pfblocker works or not
In my case you can see in screen shot below how pfblockerNG blocks the malicious webiste and display a page.

STEP 7: Check Logs of blocked webistes (optional)
To check logs against blocked webistes :
- Navigate to Firewall -> pfblockerNG -> Logs

Don’t forget to watch the video tutorial: